Amigurumi Puppy Free Pattern: 9 Steps to a Cuddly Plush Dog
- In this guide:
- Why the amigurumi puppy free pattern is going viral
- What you need for an amigurumi puppy free pattern
- Colors that suit a plush dog amigurumi
- How the pieces come together
- Finishing touches that change the final look
- Amigurumi puppy FAQ
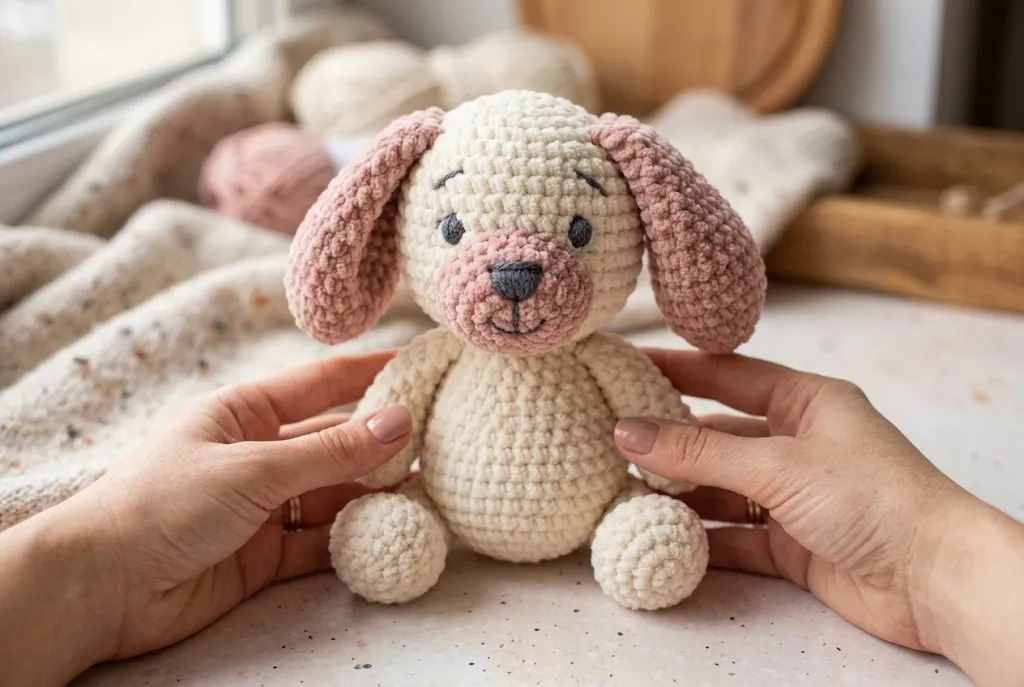
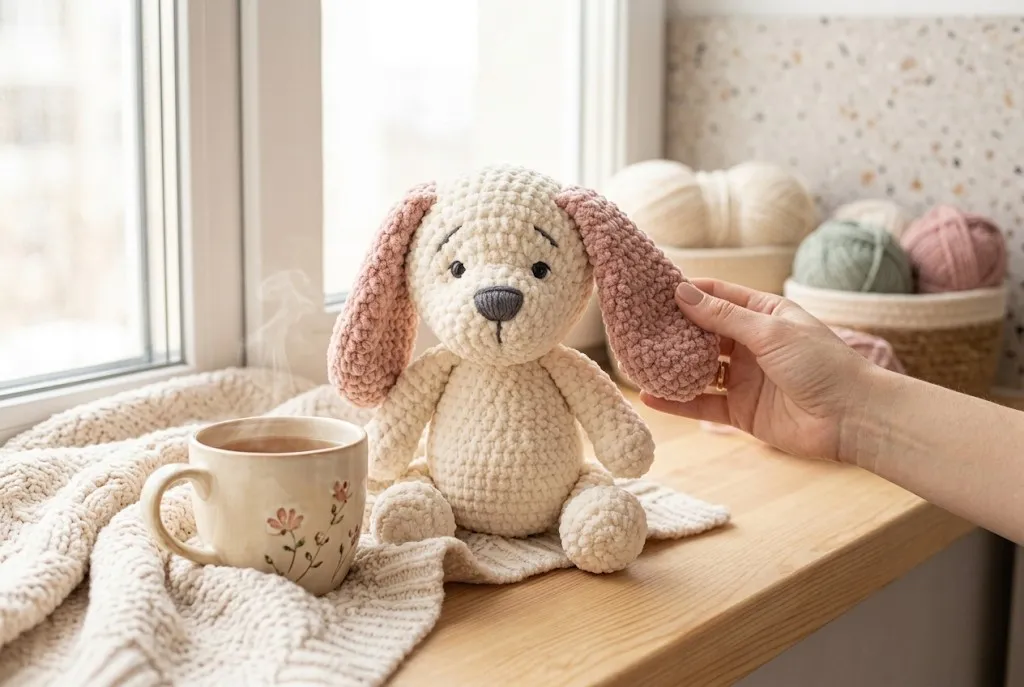
If you have been scrolling crochet feeds lately, the amigurumi puppy free pattern is impossible to miss. A chunky chenille puppy with slightly floppy ears, held in two hands, looking straight at the camera. It looks simple enough to finish in a weekend, and that is exactly why it keeps getting saved.
This guide is not a row by row pattern, because every designer charts their puppy a little differently. It covers the ideas that make these plush dogs look right. You will learn about yarn, hooks, color, and assembly, so you can follow an amigurumi puppy free pattern with confidence or design your own.
Why the amigurumi puppy free pattern is going viral
The appeal is easy to explain. A plush dog amigurumi uses the same basic shapes as any small animal, but it reads as instantly familiar and sweet. The trend is also riding a wave of chenille yarn, which has a soft, almost fluffy surface that hides small stitch wobbles. That is a real comfort when you are still learning.
The photo collages that keep showing up work because they show the whole process in one image. That reassurance is why so many beginners start here. It is one of the easiest entry points into amigurumi, and the finished toy makes a genuinely nice gift.
What you need for an amigurumi puppy free pattern
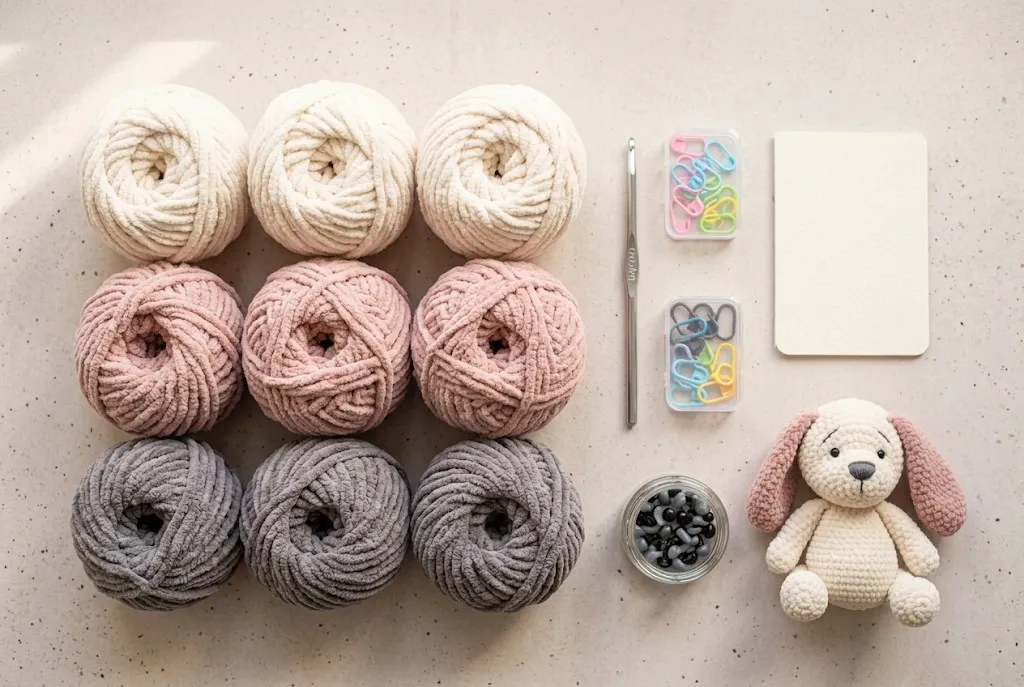
You do not need a long list. Most amigurumi uses the same basic setup. Worsted weight yarn in a couple of colors, a hook, fiberfill, stitch markers, a yarn needle, and safety eyes cover almost everything. The Craft Yarn Council publishes a clear breakdown of yarn weights and matching hook sizes if you want a reference.
Chenille is the star of this trend, but it is stretchy and harder to undo. If it is your first time using it, go up one hook size and keep your tension loose. Plain acrylic yarn in medium weight is the most forgiving place to start, and it costs less. You can follow the amigurumi puppy free pattern with either option, since the construction does not change.
Colors that suit a plush dog amigurumi
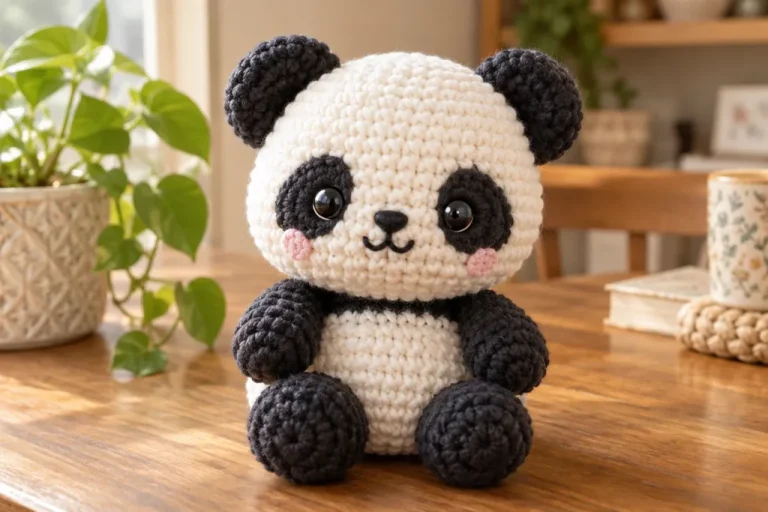
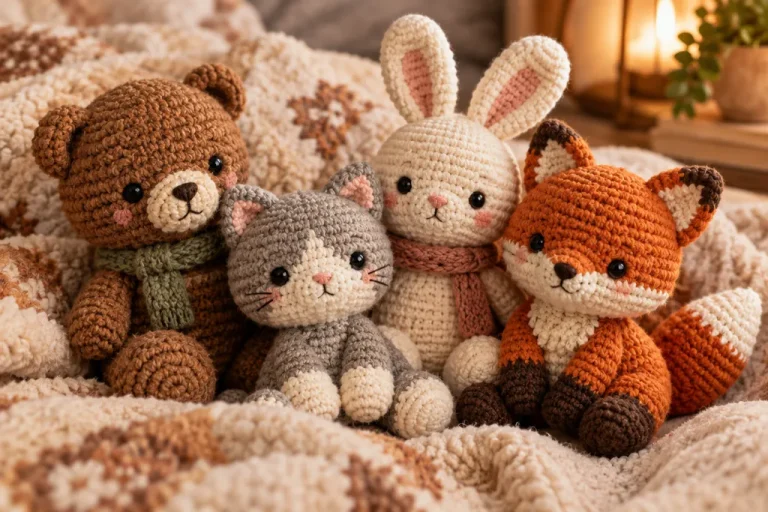
Color is what sells the cozy, just-finished mood. Chocolate brown, black, and white are the classic puppy shades, and they show up in most of the popular saves. You can follow that route or mix in creams, tans, and soft greys for a gentler look.
A muzzle in a lighter shade than the head makes the face read better, because the contrast draws the eye to the nose area. If you want something original, swap the ear color or add a patch. These small changes cost nothing and make the toy feel personal rather than copied.
Chunky chenille gives the rounded, plush look that makes the dog look huggable, while thinner yarn makes a neater and more detailed animal. Whatever palette you pick, the structure of the amigurumi puppy free pattern stays the same.
How the pieces come together
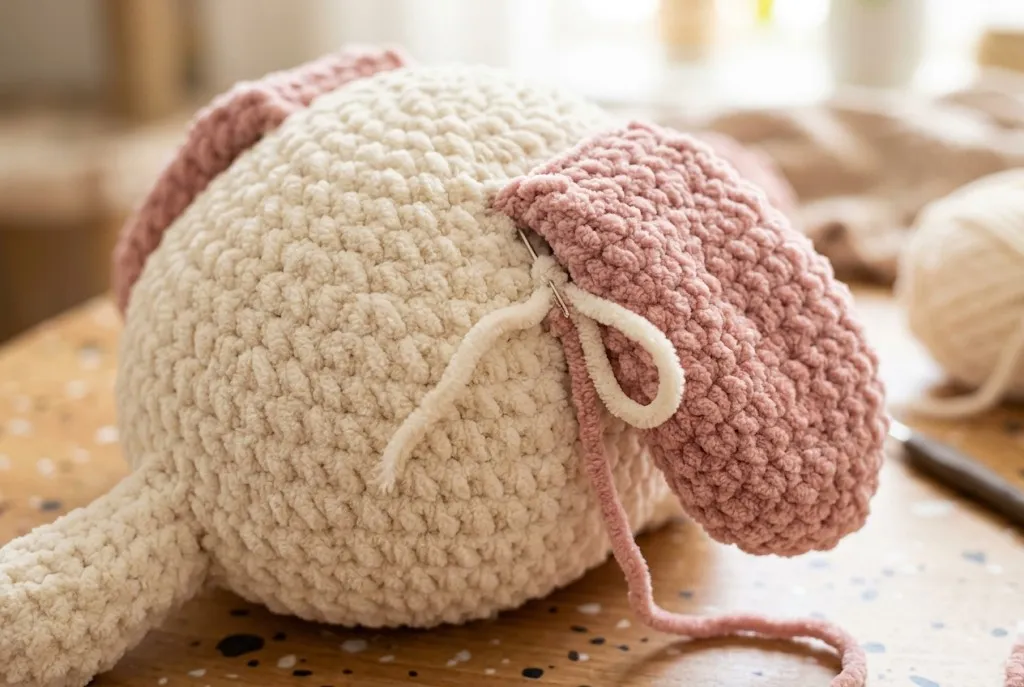
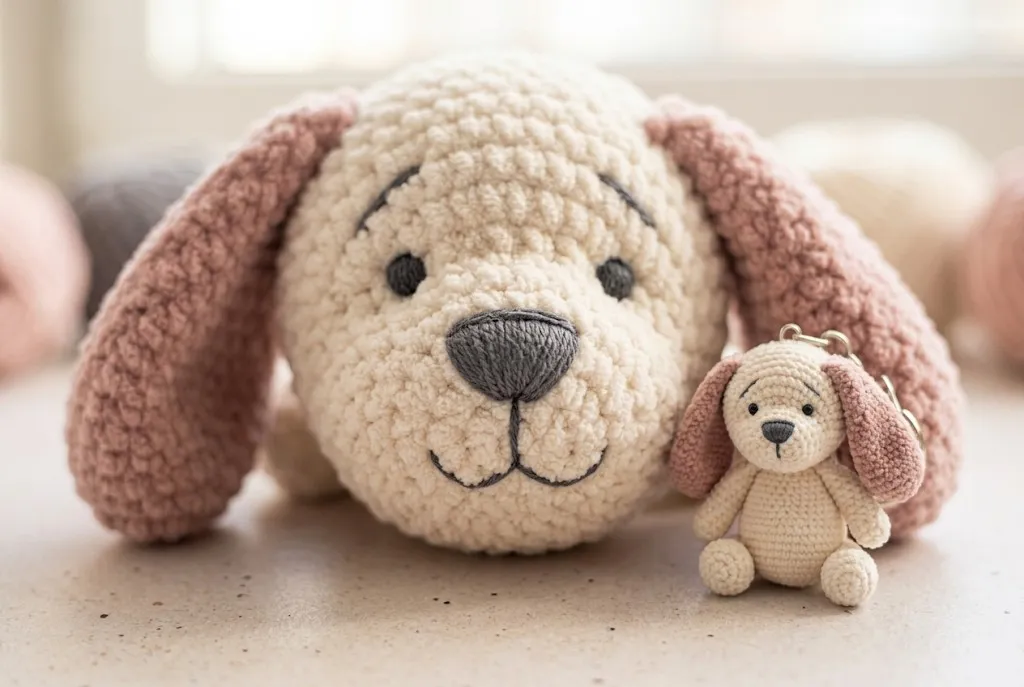
Almost every amigurumi puppy pattern follows the same loose outline. You crochet the head, body, ears, muzzle, and legs separately, fill them, then sew everything together. Most beginners worry more about assembly than crocheting, because placement decides whether the puppy looks cute or slightly off. Amigurumi, the Japanese tradition of crocheted and knitted stuffed creatures, uses exactly these joined-shape techniques.
Two placements matter most. The muzzle sits in the lower center of the face, and the eyes go just above it with a small gap between them. Ears attach to the sides of the head and point slightly forward for that floppy look. Pin the pieces with stitch markers before you sew, and check both eyes before you secure them. Mirrored or tilted eyes change the whole expression. Before you start, read the amigurumi puppy free pattern through once so you know which pieces to make first.
Follow the amigurumi puppy free pattern as written for your first toy. Once you finish one, you will notice the same steps reappearing in nearly every similar project, which makes the second and third toys faster.
Finishing touches that change the final look
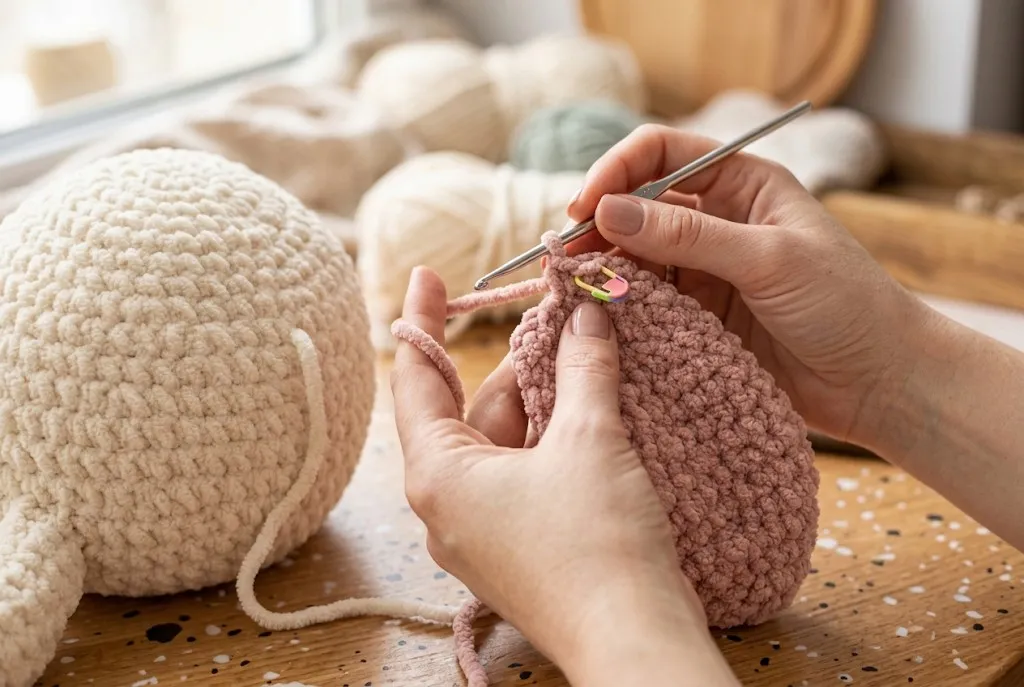
Small touches carry the project. Stuff firm but not rock hard so the puppy stays soft. Sew the head seam downward so the body hides it, and pull the yarn tail inside the toy instead of trimming it outside. Lightly stuffed ears and muzzle keep the huggable feel.
If you are making gifts, a few extra details help. Choose safety eyes rated for the age of the child where relevant, or embroider the eyes instead. Keep the same tension between pieces so the dog looks balanced. When everything matches, the toy looks professional even if your stitches are still a little uneven.
Amigurumi puppy FAQ
Do I need experience for an amigurumi puppy free pattern?
Start with single crochet, increases, and decreases, and you can handle most puppy patterns. Chenille hides small mistakes well, which keeps this beginner friendly. Most designs follow a standard amigurumi puppy free pattern layout, so once you learn the shape you can adapt anything. Ready for more practice? Start with our amigurumi for beginners guide, which has a few cute animal projects.
What is the best yarn for a plush puppy?
Chenille and roving yarns give the soft, fluffy look that makes the toy feel huggable. For a first project, medium weight acrylic is easier to handle because it does not stretch as much. Match your hook size to the label on the yarn you pick.
How long does a plush dog amigurumi take?
A medium sized puppy usually takes a few evenings. Chunky yarn makes it faster because you work fewer stitches for a larger toy. Thinner yarn adds detail but asks for more rows and patience.
Where can I find a good amigurumi puppy free pattern?
There is no shortage of free puppy designs online. Search crochet blogs and yarn company sites, and check the photos to see how the finished head, ears, and muzzle look before you commit. Reading the comments can also tell you whether beginners found it clear or frustrating.
That is the whole secret. Pick a color palette you love, use yarn you enjoy holding, and take your time with the face. An amigurumi puppy free pattern is one of the most rewarding weekend projects for new crocheters, and the finished dog makes a gift that people actually keep. Ready to build your skills? Start with our complete beginner guide, then come back for the panda pattern once you have the basics down.